
I still remember the purchasing manager who saved his lab about $18,000 a year by switching vial suppliers, and then spent the next six months fielding complaints from the autosampler. The vials were cheaper per thousand. They were also 0.4 mm short on the crimp neck, which meant the robotic gripper dropped roughly one in forty. The lesson stuck with me: in sample vial procurement, the unit price is the least interesting number on the quote. What matters is the total cost per valid injection, and that number hides in dimensional tolerances, glass chemistry, cap torque, and whether the supplier will still answer the phone in year three.
I have bought sample vials by the pallet, audited the factories that make them, and rejected shipments at the loading dock. This article is what I wish someone had handed me before my first six-figure consumables contract. We will cover how pricing actually breaks down, what MOQ really means once freight and storage are included, and a supplier evaluation framework you can run in about two weeks without a dedicated quality team.
A sample vial is not a commodity the way a cardboard box is a commodity. It is a precision-molded or drawn glass component that has to interface with a machine worth $60,000 to $150,000. The autosampler does not care that your vial was inexpensive. It cares that the neck diameter is within tolerance, that the bottom is flat to within a few tenths of a millimeter, and that the septa do not coring-shed rubber into the needle path.
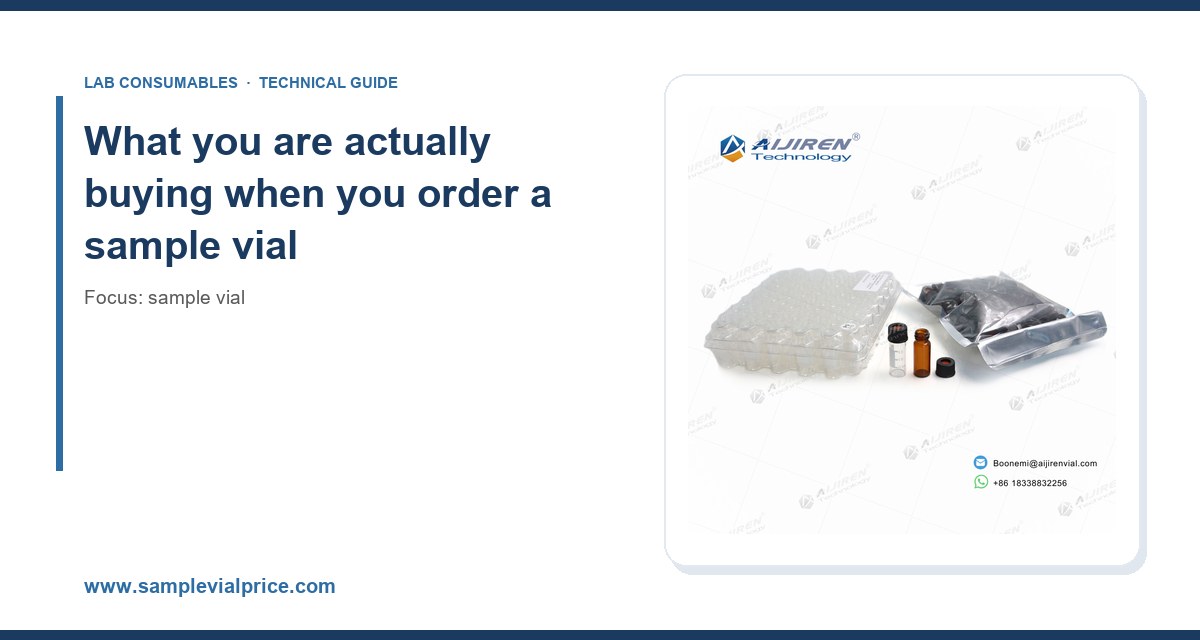
When you buy a vial you are buying four things at once: the glass body, the closure (cap plus septum), the dimensional consistency across the lot, and the documentation that proves the first three. Most procurement disasters happen because a buyer negotiates hard on the first two and ignores the last two.
The glass body
Standard 2 mL HPLC vials are typically 12 x 32 mm with an 11 mm crimp or screw neck. USP and EP compliance for Type I borosilicate glass matters if you run regulated methods. The two glass families you will see quoted are Type I borosilicate (expansion coefficient roughly 3.3 x 10⁻⁶ /K) and the cheaper Type III soda-lime. For pH-sensitive analytes, trace metals work, or anything going near a mass spectrometer, insist on Type I. Soda-lime leaches sodium and calcium and will wreck your low-level detection limits. I have seen a 300% jump in sodium background simply because a buyer “saved” 12% on glass.
Also ask about the forming method. Molded vials have a visible parting line and slightly looser dimensional control. Drawn or tubular vials are more dimensionally uniform and are what you want for high-throughput autosamplers with tight gripper geometry.
The closure and septum
The septum is where most analytical problems live. Standard silicone/PTFE septa are fine for GC and most HPLC. But a 1 mm silicone septum will core after roughly 50 to 100 punctures depending on needle gauge and guide design, while a pre-slit septum or a bonded septum cap can push usable life toward 200+ punctures before failure. If your method runs unattended overnight, the puncture count is a real cost line, not a footnote.
Crimp caps are aluminum, usually 11 mm, and require a crimper set to the right jaw height. Screw caps are either 9 mm short-thread or 10-425 long-thread, and the two are not interchangeable. The 9 mm short-thread is the de facto standard for autosamplers from the major instrument vendors. If you standardize on 9 mm short-thread, you get the widest selection of caps, septa, and third-party compatibility. The vials with caps range is a good reference point for how many closure combinations actually exist.
How sample vial pricing really breaks down
Vial pricing is quoted per case, per pack, or per thousand. Always normalize to cost per vial landed, which includes freight, duty, and the cost of the capital tied up in inventory. A quote of $42 per 100 for a 2 mL clear screw vial sounds cheap until you realize the freight adds $6 per 100 and you are carrying 40,000 units to hit the price break.
The cost stack
- Glass body: roughly 35 to 50% of unit cost. Type I borosilicate runs 20 to 40% more than soda-lime at the same dimensions.
- Cap and septum: 25 to 40% of unit cost. A bonded pre-slit septum cap can cost two to three times a plain silicone/PTFE cap.
- Packaging: 5 to 10%. Cleanroom bagging, nest-and-stack trays, and serialized lot labels all add cost.
- Certification and documentation: 3 to 8%. A certificate of analysis with dimensional data and a leachables statement is not free.
- Freight and duty: highly variable, but often 8 to 15% of landed cost for imported glass.
Typical street pricing in 2024 for a 2 mL clear 9 mm short-thread screw vial with cap lands somewhere between $0.18 and $0.42 per unit depending on glass type, certification, and volume. Amber glass adds roughly 10 to 20%. A 4 mL or 1.5 mL variant shifts the number but not the structure. If a quote comes in at $0.09 per unit, ask what glass family it is and whether the certificate of analysis includes dimensional data. The answer will usually explain the price.
Volume breaks are not linear
Most suppliers structure pricing in tiers: 1 case, 10 cases, 50 cases, 100+ cases. The largest jump is usually between the single-case and 10-case tier, often 15 to 25%. Beyond that, the curve flattens. Do not chase the 100-case tier if your annual usage is 30 cases. You will pay for storage and obsolescence and tie up cash that could go into a second approved supplier.
MOQ: the number that hides the real commitment
Minimum order quantity is rarely just a unit count. It is a commitment to a production run, a packaging format, and a lead time. A supplier quoting an MOQ of 10 cases may also be quoting a 6-week lead time because they are batching your order with other customers. A supplier quoting an MOQ of 100 cases may be quoting a 3-week lead time from stock.
What MOQ actually covers
- Production MOQ: the smallest run the factory will schedule. For molded glass this can be 5,000 to 20,000 units per color and size.
- Packaging MOQ: cleanroom bagging or custom labeling often has its own minimum, sometimes 50 cases.
- Customization MOQ: printed graduations, bar-coded labels, or custom septa usually start at 100 cases or more.
If your usage is small, negotiate a stocking program instead of a one-time large order. A good distributor will hold 8 to 12 weeks of your consumption and release it in smaller lots. You get the volume price without the inventory burden. That is often worth more than another 3% off the unit price.
Lead time and safety stock
Set your safety stock based on lead time variability, not average lead time. If a supplier’s lead time swings between 3 and 9 weeks, plan for 9 weeks plus a buffer. A practical rule: safety stock = (max lead time − average lead time) x average weekly usage + 2 weeks. Run that number for every vial SKU you buy. It will tell you which suppliers are quietly costing you money through unreliable delivery.
How to evaluate a sample vial supplier
I use a five-part evaluation that takes about two weeks and costs almost nothing. It has caught problems that a certificate of analysis never would have.
1. Dimensional audit on arrival
Pull 30 vials from three different cartons in the shipment. Measure neck diameter, overall height, and bottom flatness with calipers. For a 12 x 32 mm vial, expect height within ±0.2 mm and neck diameter within ±0.1 mm. Run the same 30 vials through your autosampler. If the gripper drops more than 1 in 100, the dimensional control is not good enough for your instrument. Document the result. This is your baseline for every future shipment.
2. Septa puncture and coring test
Take 10 vials with the supplied septa and puncture each 50 times with the same needle gauge your method uses. Inspect the septum under a loupe for coring and check the vial for rubber fragments. A good septum shows clean penetration with no visible fragments at 50 punctures. A marginal one starts shedding at 20 to 30. If you run high-throughput methods, repeat at 100 and 200 punctures and compare against a pre-slit alternative.
3. Extractables and background check
Fill 10 vials with your mobile phase or a suitable blank, cap them, and run them on your own system. Compare against a known-good vial from your current supplier. Look for ghost peaks, elevated baseline, and metal ions if you are on an ICP-MS. This is the test that exposes cheap glass. It takes an afternoon and saves months of confusing data.
4. Documentation and traceability
Ask for a certificate of analysis with lot number, glass type, dimensional data, and a leachables statement. Ask whether the supplier can trace a vial back to the glass batch. If the answer is “we can get that from the factory,” that is a yellow flag. A serious supplier has it on file. For regulated work, confirm the supplier’s quality system aligns with ISO 9001 and, where relevant, ISO 13485. If your methods reference U.S. EPA SW-846 or USP chapters, make sure the supplier understands what those documents require of a consumable.
5. Commercial and operational fit
Check lead time, willingness to hold safety stock, responsiveness to a technical question, and whether they can supply a second source. A supplier who cannot answer a question about septa durometer or glass expansion coefficient is a reseller, not a partner. That is fine for commodity items but risky for anything that touches a regulated method.
A decision checklist with real numbers
Here is the comparison table I use when two quotes are close. Score each criterion, weight it, and let the math decide.
- Glass type: Type I borosilicate required for regulated or trace work. Soda-lime acceptable only for non-critical, high-volume screening.
- Dimensional tolerance: height ±0.2 mm, neck ±0.1 mm. Reject lots outside this.
- Gripper drop rate: under 1 in 100 on your instrument.
- Septum puncture life: at least 50 clean punctures, 200+ for pre-slit.
- Background: no ghost peaks above your current supplier’s baseline.
- Certificate of analysis: lot-level, with dimensional and leachables data.
- Lead time: under 4 weeks, with variability under 2 weeks.
- MOQ flexibility: stocking program available for usage under 50 cases/year.
- Landed cost: cost per vial including freight and duty, not list price.
- Second source: at least one approved alternate for every critical SKU.
Weight glass type and dimensional tolerance highest. They drive the failures you cannot see until the data is already compromised. Price is real, but it belongs in the middle of the list, not the top.
Operational precautions that protect your investment
Even a good vial fails in bad hands. A few habits make a measurable difference.
Torque and crimp settings
For screw caps, hand-tight plus a quarter turn is the practical target. If you use a torque tool, 0.5 to 1.0 N·m is a reasonable range for 9 mm short-thread caps; over-torque deforms the septum and causes coring. For crimp caps, set the crimper jaw height per the manufacturer’s spec and check it weekly with a go/no-go gauge. A crimper that is 0.2 mm off will leak on the autosampler and you will blame the vial.
Storage and handling
Keep vials in their original packaging until use. Cleanroom-bagged vials lose their advantage if you open the bag in a dusty room. Store septa away from heat and ozone sources; silicone degrades and the puncture life drops. Do not stack cases more than the manufacturer recommends, because glass on the bottom row takes the load.
Matching vials to instruments
Confirm the vial format against your autosampler’s specification before you buy 50 cases. A 9 mm short-thread vial will not fit a 10-425 tray, and a 12 x 32 mm vial will not fit a 12 x 32 mm tray from a different vendor if the gripper geometry differs. When in doubt, pull the instrument manual and check the consumable part number. Vendors like Agilent and Thermo Fisher publish compatibility tables that are worth ten minutes of your time.
Troubleshooting checklist for vial-related problems
When data goes bad or the autosampler misbehaves, run this list before you blame the method.
- Ghost peaks or rising baseline: check vial background with a blank run. Suspect glass leachables or contaminated septa.
- Gripper errors or dropped vials: measure height and neck diameter. Check for warped vials from a hot warehouse.
- Leaks or evaporation: check cap torque and crimp jaw height. Verify septum is compatible with your solvent.
- Coring and needle blockage: inspect septa after 50 punctures. Switch to pre-slit or bonded septum caps if needed.
- Inconsistent injection volumes: check bottom flatness and fill level. A tilted bottom changes the draw height.
- Lot-to-lot variation: compare certificates of analysis. If dimensional data is missing, that is the problem.
For method-specific troubleshooting, the technical resources at Restek are a solid reference for septa and inlet consumables, and the chromatography products catalog at chromatographyselling.com is useful for cross-referencing part numbers across instrument platforms.
Where to source and how to structure the contract
I recommend a two-supplier structure for any lab running more than 20 cases a year. Primary supplier holds 70 to 80% of volume and agrees to a stocking program. Secondary supplier holds 20 to 30% and is qualified with the same dimensional and background tests. This costs slightly more per unit but protects you against the single failure mode that hurts most: a supplier who cannot deliver for six weeks.
For the primary contract, negotiate on landed cost, lead time, and documentation, not just unit price. Ask for a price hold of 12 months and a defined process for raw material increases. Ask for lot-level certificates of analysis as a contract deliverable, not a favor. If the supplier is a manufacturer, ask to see their quality manual and their last external audit summary. If they are a distributor, ask who manufactures and whether they will disclose it.
If you are evaluating a manufacturer directly, the Aijiren site is a useful example of how a vial and chromatography consumables manufacturer presents its capabilities, and the sample vial catalog at samplevialprice.com is a practical reference for current formats and pricing tiers. Use both as benchmarks when you compare quotes.
A worked example
Suppose your lab uses 40,000 2 mL clear screw vials per year. Supplier A quotes $0.24 per vial, 4-week lead time, MOQ 50 cases, certificate of analysis included. Supplier B quotes $0.19 per vial, 8-week lead time, MOQ 100 cases, certificate on request. On paper B saves $2,000 a year. But B’s lead time variability is 4 weeks, so you carry an extra 6 weeks of safety stock, roughly 4,600 vials, or about $875 in inventory plus storage. B’s certificate delay costs you a day of QA time per lot, maybe $400 per lot across 8 lots, or $3,200. Suddenly A is cheaper. This is the calculation most buyers skip, and it is the one that matters.
Takeaway
Sample vial procurement is a total-cost-of-ownership problem disguised as a price negotiation. Buy Type I borosilicate for anything regulated or trace-level, hold suppliers to height ±0.2 mm and neck ±0.1 mm, test septa at 50 punctures before you commit, and normalize every quote to landed cost per vial including freight and inventory. Structure a two-supplier contract with a stocking program and lot-level certificates of analysis as deliverables. Do that, and the $18,000 you save will not come back to you as six months of autosampler complaints.
References & further reading
Related resources from our lab consumables network:
- Sample Vial at samplevialprice.com
- Chromatography Products at chromatographyselling.com
- Aijiren at aijirentech.com
- Vials With Caps at vialswithcaps.com
External references and standards: