
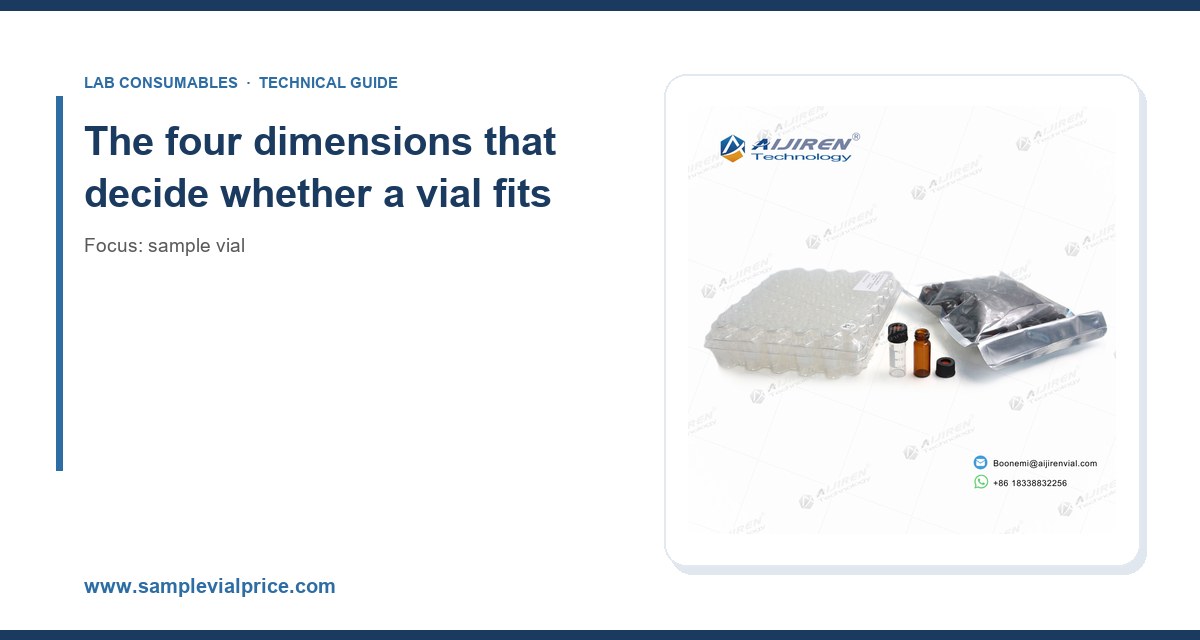
I have watched a lab manager try to force a 12 x 32 mm vial into an autosampler tray built for 11.6 mm bodies, and I have seen the opposite: a 9 mm short vial sitting loose in a 12 mm nest, picked up crooked by the gripper, and dropped into the rotor. Both mistakes cost the same thing, a stopped sequence at 2 a.m. and a stack of samples that have to be re-prepped. The fix is not a better vial. The fix is matching the vial geometry to the autosampler or inlet that will handle it, and doing that before the purchase order goes out.
This guide is about the dimensional and mechanical interface between a sample vial and the hardware that touches it. It covers the numbers that matter (body diameter, height, neck finish, septum thickness, crimp or screw thread, glass grade), the failure modes each dimension drives, and a decision checklist you can hand to a buyer. If you want the broader catalog view, the Sample Vial range on our site is the starting point, but the selection logic below is what keeps you out of trouble.
Every autosampler interface is defined by a small set of tolerances. Get these right and almost everything else is a preference. Get them wrong and no amount of premium glass will save you.
Body diameter
The standard 2 mL vial is nominally 12 x 32 mm. In practice, the outside diameter runs 11.6 to 12.0 mm depending on manufacturer, and that 0.4 mm spread is enough to cause problems. Trays and nests are machined to accept a specific range. A 12.0 mm vial in a nest sized for 11.6 mm will drag, and a gripper calibrated for 12.0 mm will miss a 11.6 mm vial by enough to drop it.
The 2 mL format is not the only one. You will also see:
- 9 mm screw-thread vials (often called 2 mL wide-mouth, but the cap is 9 mm)
- 11 mm crimp vials, common on older GC autosamplers
- 8 x 30 mm or 6 x 32 mm microvials and inserts
- 15 x 45 mm or 15 x 48 mm headspace vials, which are a different animal entirely
Do not assume “2 mL” means a single geometry. Confirm the body OD on the drawing, not the marketing name.
Height and the gripper window
Height is where most near-misses happen. A 32 mm vial is standard, but short vials at 32 mm with a different neck or 28 mm bodies exist for specific platforms. The autosampler gripper closes at a fixed height above the tray floor. If the vial is 2 mm shorter, the gripper grabs air or the shoulder. If it is 2 mm taller, the needle guide may not seat and the injection port will fault.
Check the instrument manual for the accepted height range, not just the nominal. Agilent, for example, publishes tray and vial compatibility tables for its 7697A and 7693A systems, and Thermo does the same for the TriPlus and AS/ASH series. The Agilent chromatography consumables and columns pages list these compatibility matrices; use them as the first filter.
Neck finish and thread
The neck finish is the geometry of the opening: thread pitch, thread depth, sealing land, and the flat that the septum compresses against. Two vials can both be “9 mm screw thread” and still not seal interchangeably if the thread pitch or the land width differs.
For crimp vials, the neck finish is defined by the crimp dimension, typically 11 mm or 20 mm. The crimp tool has to match the cap and the neck, and the seal depends on a correct crimp: too loose and the septum leaks, too tight and you crack the neck or deform the seal. A properly crimped 11 mm aluminum seal on a 11 mm neck should be set with a crimper adjusted to the manufacturer’s spec, usually around 1.5 to 2.0 mm of compression on the seal skirt.
Septum thickness and durometer
The septum is the part that gets punctured, and its thickness and hardness determine how many injections you get before coring or leakage. Standard silicone/PTFE septa run 0.9 to 1.0 mm thick for 9 mm screw caps and 1.0 to 1.5 mm for 11 mm crimp caps. Thinner septa puncture more easily but leak sooner under pressure. Thicker septa hold pressure better but blunt the needle and raise the risk of coring.
For high-throughput sequences, a pre-slit septum or a septum with a bonded PTFE face reduces coring and extends usable puncture count from roughly 50 to 100 injections to 200 or more on the same cap, depending on needle gauge and injection volume. That is a real cost line if you are running 500-injection sequences.
Why the inlet matters as much as the autosampler
The autosampler is only half the interface. The inlet (or the detector, or the LC injection valve) determines the maximum pressure the vial will see and the temperature it must survive.
GC split/splitless inlets
A split/splitless inlet at 250 to 300 °C with a head pressure of 10 to 25 psi puts a modest load on the vial, but the septum sees the full inlet temperature. Standard silicone septa are rated to about 250 °C continuous and will bleed siloxanes above that. If your method runs the inlet at 300 °C, you need a high-temperature septum or a bleed-optimized grade, and you need to accept a shorter septum life. This is where the vial and the inlet are genuinely coupled: the septum rating, not the glass, becomes the limiting factor.
Headspace inlets
Headspace vials are pressurized and heated, typically to 40 to 150 °C and 10 to 20 psi, sometimes higher for specific methods. The vial must be rated for that pressure and temperature, and the crimp or screw cap must hold a gas-tight seal through the cycle. A 20 mm crimp headspace vial with a PTFE-faced butyl septum is the common choice; a standard 11 mm crimp vial is not rated for this and will leak or fail.
HPLC and LC autosamplers
LC autosamplers operate at ambient to 40 °C and low pressure, so temperature is rarely the issue. The issue is needle depth and vial bottom geometry. A vial with a conical interior bottom allows the needle to reach the last 50 to 100 µL; a flat-bottom vial leaves 200 to 300 µL behind. If your method uses a 100 µL injection volume from a 1 mL sample, bottom geometry decides whether you can run the sample at all.
Thermo Fisher’s chromatography and sample handling documentation covers the vial and needle depth combinations for its LC platforms; the same logic applies to Agilent, Waters, and Shimadzu systems.
A concrete comparison: the three vial formats you will actually buy
Here is the decision table I use when a lab asks which format to standardize on. The numbers are the ones that matter at the bench.
| Parameter | 9 mm screw vial | 11 mm crimp vial | 20 mm headspace vial |
|---|---|---|---|
| Body OD | 11.6 to 12.0 mm | 11.6 mm | 22.5 mm |
| Height | 32 mm | 32 mm | 75 mm |
| Nominal volume | 2 mL | 2 mL | 20 mL |
| Septum thickness | 0.9 to 1.0 mm | 1.0 to 1.5 mm | 3.0 mm |
| Typical puncture count | 50 to 100 (standard), 200+ (pre-slit) | 50 to 100 | 1 to 2 (single-use) |
| Max temperature | Ambient to 40 °C (LC), 250 °C septum limit (GC) | 250 °C septum limit | 150 °C (method dependent) |
| Pressure rating | Low (LC, GC inlet) | Low to moderate | 10 to 20 psi typical |
| Crimp or screw tooling | None (hand or torque tool) | 11 mm crimper required | 20 mm crimper required |
| Best for | LC autosamplers, routine GC, mixed fleets | GC autosamplers with fixed trays | Headspace GC, volatile methods |
Two things jump out. First, the 9 mm screw vial is the most flexible because it needs no crimp tool and works across most LC and many GC autosamplers. Second, the headspace vial is not a bigger version of the 2 mL vial; it is a different pressure vessel with different tooling and a single-use septum. Do not try to substitute one for the other.
Torque, crimp, and the sealing step people skip
Sealing is where a correctly sized vial still fails. I have seen more leaks from under-torqued screw caps than from any dimensional mismatch.
Screw caps
For 9 mm screw caps, the recommended torque is typically 0.5 to 1.0 N·m (roughly 4 to 9 inch-pounds). Hand-tightening with a torque-limiting tool is more consistent than fingers. Under-torque causes evaporation and volume loss over a long sequence; over-torque deforms the septum and can crack the neck. A cap that is tightened to spec and then loosened and re-tightened loses seal integrity; treat screw caps as single-use for quantitative work.
Crimp caps
Crimp quality is a function of the crimper adjustment. A 11 mm crimp should compress the aluminum skirt so the seal sits flat against the neck land with no gap and no rocking. Test with a simple pull test: the cap should not rotate freely by hand. If it does, the crimp is loose. If the glass neck chips, the crimp is too tight. Recalibrate the crimper every few hundred caps, and replace the crimping jaws when they show wear.
The Vials With Caps range includes pre-assembled screw and crimp options, which removes the assembly variable but does not remove the need to check torque and crimp on receipt.
Glass grade and chemical compatibility
Dimensional fit gets the vial into the instrument. Glass grade decides whether the sample is still the same sample when it gets there.
Most 2 mL vials are made from Type I borosilicate glass (USP Type I, ISO 3585), which has low extractables and good hydrolytic resistance. For trace analysis at ppb levels, use a vial that has been certified for low extractables and, where relevant, silanized to reduce adsorption of polar analytes. For pH-sensitive methods, check the glass hydrolytic class; Type III soda-lime glass is cheaper but leaches alkali and is a poor choice for basic analytes.
For methods governed by U.S. EPA SW-846 test methods, the vial is part of the sample container chain of custody. Use the container type and volume the method specifies, and document the lot. A dimensional match to the autosampler is necessary but not sufficient if the method calls for a specific container.
Matching to specific platforms: a practical procedure
Here is the sequence I run when a lab is standardizing on a vial across multiple instruments.
- List every autosampler and inlet in the lab, including the model and firmware version. The firmware matters because tray and gripper behavior can change between versions.
- Pull the compatibility table from the instrument vendor for each platform. Record the accepted body OD range, height range, and cap type.
- Find the intersection of accepted dimensions across all platforms. If there is no intersection, you need two vial formats, not one.
- Check the septum rating against the highest inlet or headspace temperature in the lab. The lowest-rated septum sets the ceiling.
- Confirm the bottom geometry against the smallest injection volume and the needle depth. A conical bottom is usually the safer choice for low-volume methods.
- Run a fit test on each platform with a full tray of the candidate vial. Watch for gripper misses, needle guide faults, and tray jams over at least 200 injections.
- Verify the seal with a gravimetric evaporation test: fill 10 vials, cap to spec, weigh at t=0 and t=24 h at room temperature, and check for weight loss above 0.5%.
- Document the approved part number and lot and add it to the method SOP.
Step 6 is the one people skip. A vial that fits on paper can still fail in the gripper because of a 0.2 mm diameter difference or a slightly different shoulder radius. Run the tray test before you commit to a pallet.
Troubleshooting checklist: symptom to cause
When a sequence fails, work down this list before you blame the method.
- Gripper drops the vial: body OD below the gripper’s minimum, or height outside the window. Measure 10 vials with calipers; the spread should be under 0.2 mm.
- Needle bends or cores the septum: septum too thick or too hard for the needle gauge, or the needle guide is misaligned because the vial is too tall. Check septum thickness against the needle spec.
- Sample volume drops over a long sequence: under-torqued screw cap or a loose crimp. Re-torque to 0.5 to 1.0 N·m or recalibrate the crimper.
- Ghost peaks or siloxane bleed in GC: septum running above its temperature rating. Check the inlet temperature against the septum spec; switch to a high-temperature septum if needed.
- Low recovery on polar analytes: adsorption to untreated glass. Switch to a silanized or certified low-extractable vial.
- Vial jams in the tray: mixed vial lots with different OD. Quarantine the lot and check the certificate of analysis for dimensional tolerance.
- Headspace leak or pressure fault: wrong crimp size or a worn seal. Verify the 20 mm crimp and replace the crimper jaws.
For method-specific troubleshooting, the Restek technical resources for chromatography are a good cross-check on septum bleed and inlet behavior, and the Chromatography Products catalog is useful for cross-referencing vial and cap part numbers across vendors.
Where the manufacturing tolerance actually comes from
Vial dimensions are not arbitrary. They come from the mold and the forming process, and the tolerance band is set by the glass supplier’s capability. A good supplier holds body OD to ±0.1 mm and height to ±0.3 mm. A marginal supplier may hold ±0.3 mm on OD, which is enough to cause gripper problems on a tight tray.
This is why lot-to-lot consistency matters more than the nominal drawing. Ask for the dimensional tolerance on the certificate of analysis, and spot-check incoming lots with calipers on 10 vials. If the spread is wider than 0.2 mm, reject the lot. Manufacturers such as Aijiren publish these tolerances for their vial lines, and it is worth comparing them before a large order.
Recommendation
For a mixed lab running LC and routine GC, standardize on 9 mm screw-thread 2 mL vials, 11.6 to 12.0 mm OD, 32 mm height, conical bottom, with pre-slit PTFE/silicone septa rated to 250 °C. Torque caps to 0.5 to 1.0 N·m with a limiting tool, and treat caps as single-use for quantitative work. Keep a separate, clearly labeled stock of 20 mm crimp headspace vials with PTFE-faced butyl septa for any headspace method, and do not let the two formats share a tray.
If your fleet includes an autosampler with a fixed 11 mm crimp tray, add a 11 mm crimp line with a calibrated crimper and a documented crimp check every 200 caps. Run the 200-injection tray test on every platform before you sign off on a new part number, and check the dimensional tolerance on every incoming lot. The vial is a consumable, but the fit is a specification, and the specification is what keeps the sequence running.
References & further reading
Related resources from our lab consumables network:
- Sample Vial at samplevialprice.com
- Chromatography Products at chromatographyselling.com
- Aijiren at aijirentech.com
- Vials With Caps at vialswithcaps.com
External references and standards: