
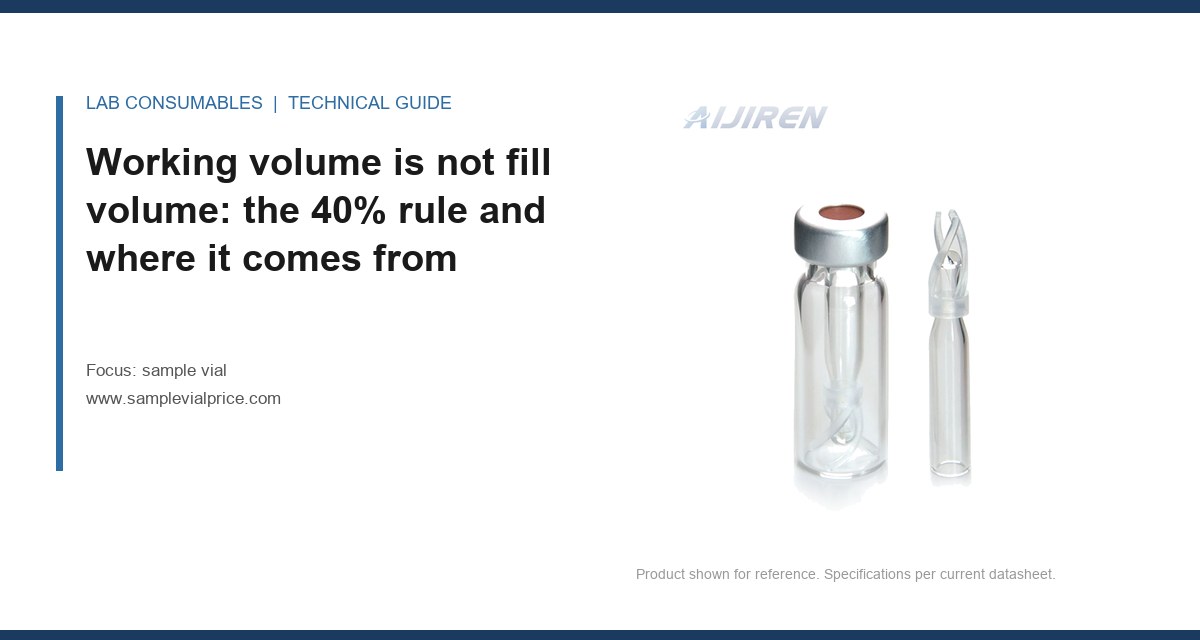
A 2 mL vial filled to 1.5 mL looks generous until the autosampler needle sits 1.2 mm above the bottom and the injection volume is 10 µL: you have 40 injections of usable sample, not 150, and the run that failed on injection 41 was the one the analyst had already flagged as “low.” I have watched that arithmetic break a validation batch twice in fifteen years, and both times the fix was a vial size decision made on paper, not in the lab. If you are sizing a sample vial for a run, the numbers that matter are the working volume above the needle, the dead volume below it, and the puncture life of the septum against the gauge of the needle you actually use.
Vendors print a nominal capacity on the box. A 2 mL vial holds 2 mL if you fill it to the shoulder and cap it. Nobody runs an autosampler that way. The usable working volume is what sits above the needle tip when the vial is in the tray, and it is set by three mechanical facts:
- Needle depth: most fixed autosamplers place the tip 1 to 3 mm above the bottom of a 12 x 32 mm vial, depending on the model and the tray geometry.
- Dead volume: below the needle tip, the sample cannot be drawn. On a 2 mL vial with a flat bottom and a 1.5 mm tip clearance, that is roughly 80 to 120 µL of unreachable liquid, plus the meniscus.
- Headspace: the space above the liquid affects evaporation of volatile analytes and the vapor concentration the needle sees on a headspace injection. For a liquid injection, 10 to 20% headspace is normal; for headspace GC, the fill ratio is a separate calculation and I will not go into it here.
The practical rule I use: usable volume = nominal capacity × 0.75, minus 100 µL of dead volume. For a 2 mL vial that is 1.4 mL of working sample, not 2 mL. For a 1.5 mL wide-mouth vial it is about 1.0 mL. For a 4 mL vial it is about 2.9 mL. If your method injects 10 µL and you want 50 injections with a 20% reserve, you need 50 × 10 µL × 1.2 = 600 µL of working sample. A 1.5 mL vial covers it; a 2 mL vial covers it with room to spare; a 1 mL vial does not, because its working volume is around 650 µL and you have already spent most of it on the reserve.
The injection count arithmetic, step by step
Do it in this order. Do not skip step 3.
- Injection volume per run. Include any wash or flush volume drawn from the same vial. Some autosamplers pull 2 to 5 µL of sample into the loop for a wash step. That comes out of the vial.
- Number of injections per vial. Standard, duplicate, and any QC re-injection you expect. A method that runs a sample in duplicate and re-injects a failed standard uses three draws from one vial.
- Vial dead volume. Measure it. Fill a vial with water, run the autosampler until it reports “no sample,” and weigh the remainder. On a 12 x 32 mm vial with a 1.5 mm tip clearance I have measured 90 to 130 µL, and the number changes with the bottom geometry (flat, conical, rounded).
- Reserve. Add 15 to 25% for evaporation, spillage on the septum, and the last injection you always need but never plan for.
Then: required working volume = (injection volume × injections per vial × 1.2) + dead volume. Compare that to the usable volume of the vial you were about to order. If the margin is under 20%, move up a size. The cost difference between a 1.5 mL and a 2 mL vial is a few cents; the cost of a re-run is not.
A 1.5 mL vial and a 2 mL vial do not hold the same sample
This is the part that gets lost in the catalog. A 1.5 mL wide-mouth vial and a 2 mL standard vial have the same 12 x 32 mm footprint and the same 9 mm neck, but the shoulder height and the internal taper are different. The 1.5 mL vial has a shorter straight wall and a more pronounced shoulder, so the liquid level sits higher for the same volume. That changes two things: the headspace ratio and the depth at which the needle enters the liquid.
| Vial | Nominal capacity | Working volume (75% rule) | Dead volume (measured, 1.5 mm tip) | Max injections at 10 µL with 20% reserve |
|---|---|---|---|---|
| 1 mL (8 x 40 mm) | 1.0 mL | ~650 µL | 60 to 80 µL | ~50 |
| 1.5 mL wide-mouth (12 x 32 mm) | 1.5 mL | ~1.0 mL | 80 to 110 µL | ~90 |
| 2 mL standard (12 x 32 mm) | 2.0 mL | ~1.4 mL | 90 to 130 µL | ~130 |
| 4 mL (15 x 45 mm) | 4.0 mL | ~2.9 mL | 150 to 200 µL | ~280 |
Those numbers assume a 10 µL injection and a flat-bottom vial. Change the needle depth or the bottom shape and they move by 10 to 20%. The point is not the exact figure. The point is that the “2 mL” on the invoice is not the volume the autosampler can reach, and if you are sizing for an injection count, the working volume column is the one you use.
When the sample is precious, size down and inject less
If you have 300 µL of a precious sample, a 1.5 mL vial is the wrong choice: the dead volume eats a third of your material. Use a 300 µL conical insert inside a 12 x 32 mm vial, or a 1 mL vial with a conical bottom. The insert’s working volume is around 200 µL and the dead volume drops to 20 to 30 µL. The trade-off is that the needle has to reach the bottom of the insert, and not every autosampler can. Check the needle depth spec before you commit. On a Thermo or Agilent autosampler the standard needle depth is adjustable on some models and fixed on others; the fixed ones are the ones that will not reach a conical insert, and you find out on the first run.
Septum puncture life is a number you can calculate, not a guess
A septum is a disc of silicone or silicone-faced PTFE, 9 mm in diameter for a standard 12 x 32 mm vial, about 1 mm thick. Every needle insertion punches a hole. The hole does not close completely, and after enough insertions the septum leaks. The leak shows up as a drifting internal standard, a shrinking peak area, or a “no sample” error on a tray that was full ten minutes ago.
Puncture life depends on the needle gauge, the septum material, and the injection technique. Here are the numbers I work with, from bench testing and from vendor data sheets (Restek publishes a useful set of septum performance curves at restek.com; Agilent’s consumables pages at agilent.com carry similar figures for their septa):
| Septum type | Needle gauge | Typical puncture life (before leakage) | Notes |
|---|---|---|---|
| Standard silicone/PTFE | 22 G (0.72 mm OD) | 50 to 100 | Cheapest; coring risk on repeated insertion |
| Standard silicone/PTFE | 26 G (0.46 mm OD) | 150 to 250 | Smaller hole, longer life, more bending risk |
| Pre-slit silicone/PTFE | 22 G | 100 to 200 | Slit guides the needle; better for multi-injection |
| Pre-slit silicone/PTFE | 26 G | 300 to 500 | Best life for long sequences; watch evaporation |
| Bonded (silicone bonded to PTFE) | 22 G | 80 to 150 | No coring, but the bond can fail on aggressive solvents |
The arithmetic: if your method runs 200 injections from a single vial and you use a 22 G needle with a standard septum, you will exceed the puncture life before you run out of sample. The septum fails first. That is the failure mode I see most often in long autosampler sequences, and it is invisible until the internal standard drifts. The fix is a pre-slit septum or a smaller gauge, not a bigger vial.
Needle gauge changes the puncture count more than the septum does
Going from 22 G to 26 G roughly halves the hole area (0.41 mm² versus 0.17 mm²) and roughly doubles the puncture life. That is a bigger effect than switching from standard to pre-slit at the same gauge. If you control the needle, control the needle first. If the autosampler came with a fixed 22 G needle, pre-slit is your only lever, and it buys you 2x, not 4x.
One caveat: a 26 G needle is more prone to bending and to plugging on viscous samples. If you are injecting a protein precipitate or a slurry, stay at 22 G and accept the shorter septum life. The puncture count is not the only constraint.
Case 1: the internal standard that drifted on injection 180
Symptom: a 200-injection sequence on a GC-FID method, 2 mL vials, 22 G needle, standard silicone/PTFE septa. The internal standard area was stable for the first 150 injections, then dropped 8% over the next 30 and the run failed the system suitability check at injection 180.
Measurement: we pulled the vial at injection 180 and weighed it against a control vial from the same lot. It had lost 14 mg of solvent through the septum, against 2 mg for the control. The septum had been punctured 180 times; the leak was at the puncture site, not the cap. A dye test (methylene blue on the septum surface, then a dry wipe) showed a visible wicking path through the puncture.
Fix: switched to pre-slit septa and a 26 G needle, kept the 2 mL vial. Puncture life went from about 150 to over 400. The sequence now runs 200 injections with no drift, and the septum is replaced on a schedule (every 300 punctures) rather than on failure. The vial size did not change. The septum and needle did.
Case 2: the 1.5 mL vial that ran dry at injection 95
Symptom: an HPLC method with a 20 µL injection, 100 injections per vial, 1.5 mL wide-mouth vials filled to 1.2 mL. The autosampler reported “no sample” at injection 95 on three vials in a row.
Measurement: we calculated the working volume. 1.5 mL × 0.75 = 1.125 mL usable, minus 100 µL dead volume = 1.025 mL. At 20 µL per injection, that is 51 injections, not 100. The analyst had been filling to 1.2 mL and assuming the nominal capacity was the working volume. The vials were not defective; the arithmetic was wrong.
Fix: moved to 2 mL vials for that method. Working volume 1.4 mL, minus 100 µL dead volume = 1.3 mL, which covers 100 injections at 20 µL with a 35% reserve. The cost increase was about 3 cents per vial. The re-run cost was three hours of instrument time and a batch of standards.
Both cases are the same lesson from opposite directions: the vial size and the septum life are two separate calculations, and a method can fail on either one. Size the vial for the volume, then size the septum for the puncture count. Do not let one decision cover for the other.
Decision checklist before you place the order
Run this list against the method, not against the catalog. It takes ten minutes and it prevents the two failure modes above.
- Injection volume: the programmed volume, plus any wash or flush drawn from the vial.
- Injections per vial: standards, duplicates, and expected re-injections.
- Working volume: nominal capacity × 0.75, minus the measured dead volume for your autosampler’s tip clearance.
- Reserve: 15 to 25% on top of the calculated requirement.
- Needle gauge: fixed or adjustable? If fixed at 22 G, plan for 50 to 100 punctures per septum.
- Septum type: pre-slit if the puncture count exceeds the standard septum’s life; bonded if the sample attacks silicone.
- Bottom geometry: flat for general use, conical for precious samples, and confirm the needle reaches the cone.
- Cap torque: hand-tight plus a quarter turn is the working range for a 9 mm screw cap; over-torque deforms the septum and shortens puncture life. A torque of 0.5 to 0.8 N·m is typical for a 9 mm cap; check the cap vendor’s spec.
- Neck finish: 9 mm screw thread (GPI 9) or 11 mm crimp (GPI 11). Do not mix; the cap will not seal.
If you are ordering across a range of methods, the vials with caps catalog is the place to match neck finish and septum type in one line item, and the chromatography products index covers the autosampler accessories (needles, trays, inserts) that set the tip clearance and gauge. For the manufacturing side, Aijiren publishes dimensional drawings for the 12 x 32 mm family that are worth checking against your tray spec before you commit to a lot.
What to specify on the purchase order
Put the numbers on the PO so the next buyer does not have to re-derive them. A line item that reads “2 mL clear glass vial, 12 x 32 mm, 9 mm screw thread, pre-slit silicone/PTFE septum, flat bottom, 100/pk” is a specification. A line item that reads “2 mL vial” is a guess. The difference shows up at injection 180.
For methods that run long sequences, add the septum replacement interval to the SOP: every 300 punctures for pre-slit at 26 G, every 100 for standard at 22 G. That is a maintenance schedule, not a purchasing decision, but it is the number that keeps the internal standard flat.
The decision rule: size the vial so the working volume (75% of nominal, minus dead volume) covers the injection count times the injection volume with a 20% reserve, and size the septum so the puncture life covers the injection count at your needle gauge. If both numbers clear, the method runs to completion. If either one does not, the run fails at the point where the smaller number runs out, and it fails silently until the data drifts. The EPA’s SW-846 methods (epa.gov/hw-sw846) and the instrument vendors’ consumable guides both assume you have done this arithmetic; they do not do it for you. Do it once per method, write it down, and the next order is a reorder instead of a re-derivation.
References & further reading
Related resources from our lab consumables network:
- Sample Vial at samplevialprice.com
- Chromatography Products at chromatographyselling.com
- Aijiren at aijirentech.com
- Vials With Caps at vialswithcaps.com
External references and standards: