
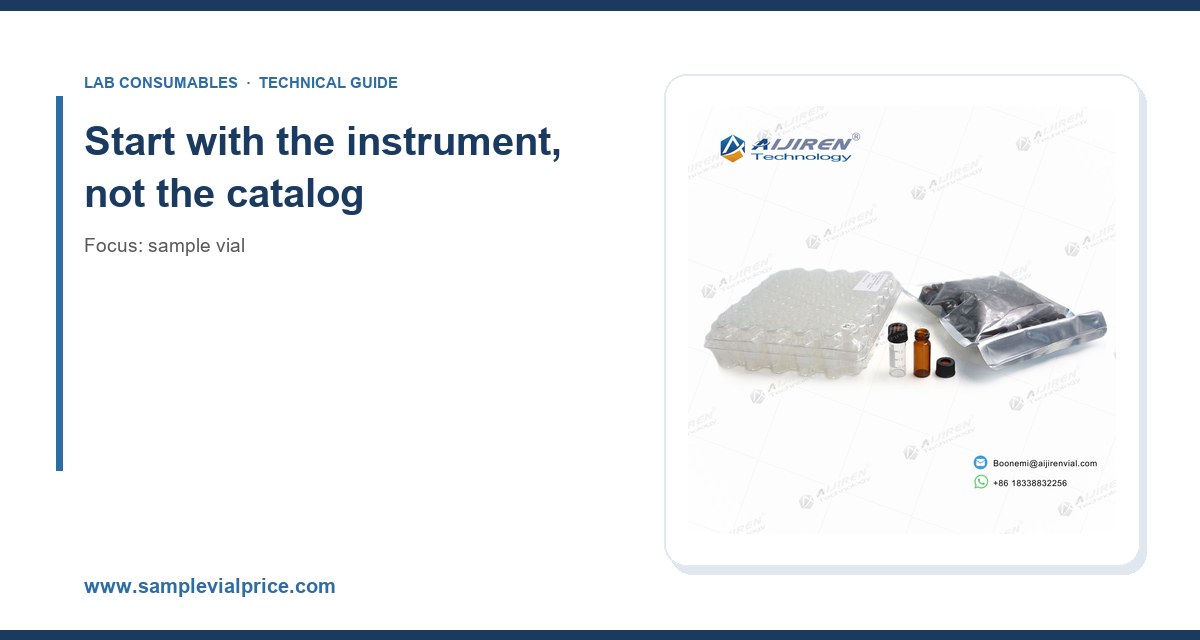
I have watched a lab buy 4,000 vials on price alone and then spend three weeks chasing a ghost peak that turned out to be silicone oil from the wrong septa. I have also seen a QC group lock up an autosampler because someone ordered 32 x 11.6 mm vials with a 6 mm neck when the tray was cut for 9 mm. Both mistakes were avoidable with a 20 minute conversation about the actual workflow. This guide is that conversation, written down.
Choosing a sample vial looks like a commodity decision. It is not. The vial is the first and last thing that touches your sample before the detector sees it, and every physical choice you make (glass chemistry, neck finish, cap lining, fill volume) propagates through the whole analytical result. Below I break down the selection criteria that matter, the numbers to quote on a purchase requisition, and the failure modes to check when results drift.
The autosampler defines your constraints before anything else. Pull the manufacturer’s consumables list for your exact model and note four numbers: the vial outer diameter, the height, the neck finish, and the maximum cap diameter the gripper can handle. Get these wrong and nothing else matters.
The two dominant formats in HPLC and GC autosamplers are:
- 12 x 32 mm vials with a 9 mm screw or crimp neck, the workhorse format for most Agilent, Shimadzu, and Waters autosamplers. Nominal capacity is 2 mL, usable volume around 1.5 mL.
- 11 mm crimp or snap vials, common on older GC heads and some Thermo autosamplers, with a shorter 32 mm body but a narrower neck.
- Short 12 x 32 mm variants with a 6 mm neck for high-density trays (some CTC and PAL systems), where you trade usable volume for tray capacity.
If you run a mixed fleet, standardize on the 12 x 32 mm, 9 mm screw thread format wherever the instrument allows. It is the most widely stocked size across the supply chain, and it is the format most third-party glass makers produce in volume, which keeps lead times short. Aijiren, for example, publishes a full dimensional drawing for each format, and I always request the drawing rather than trusting a part number, because “2 mL vial” alone tells you almost nothing. You can see their format range at aijirentech.com.
Screw, crimp, or snap
This is the decision operators feel every day.
Screw thread vials are the default for a reason: no tooling, no crimper to calibrate, and a consistent seal if you torque the cap correctly. The trade-off is that hand tightening is inconsistent. I have measured caps torqued by five different analysts and seen a spread from 0.8 to 2.4 N·m on the same vial. Under-torque and you get evaporation and septa that back out; over-torque and you crack the neck or extrude the septum into the sample. Aim for 1.2 to 1.5 N·m with a torque wrench or a calibrated cap tightener, and write that number into your SOP.
Crimp vials give the most reproducible seal and the best evaporation resistance, which is why they dominate GC headspace and long-run sequences. The cost is a crimper that must be set and checked. A mis-set crimper produces leaks you cannot see. Check the crimp with a go/no-go gauge weekly, and replace the crimping jaws when they show wear.
Snap caps are the fastest to use and the least reliable for volatile work. They are fine for aqueous samples run within a shift. They are not fine for a 24 hour autosampler queue of methanolic extracts.
Glass chemistry: the choice most buyers get wrong
Not all borosilicate is equal, and the grade you pick changes both the extractables profile and the price. There are three practical grades.
Type I borosilicate (USP Type I)
This is the standard for analytical work. Low alkali leaching, good hydrolytic resistance, and it holds up to autoclaving and to the solvent range you actually use (acetonitrile, methanol, water, DMSO, THF). For LC-MS work where you care about background at low masses, specify Type I and ask for the hydrolytic resistance test result to USP <660> or the equivalent ISO 719 / ISO 720 classification.
Type III soda-lime
Cheaper, and adequate for high-concentration UV work where a little sodium leaching will not move the result. Do not put it near trace metals analysis or ion chromatography. The alkali release will show up as a rising baseline and phantom sodium peaks.
Amber glass
Use amber for anything light-sensitive: vitamins, catecholamines, many pharmaceuticals, and most photodegradable pesticides. The amber is in the glass, not a coating, so it does not leach. The trade-off is that you cannot visually inspect the sample for particulates, so if you need both, split the batch.
One more glass variable that rarely makes it onto a spec sheet: dimensional tolerance. Cheap vials vary in body diameter and neck height by enough to jam a gripper or sit crooked in the tray. Ask for the tolerance band (typically ±0.2 mm on diameter for a good supplier) and reject lots that fall outside it. A crooked vial in a 100-position tray is a run-ending event at 2 a.m.
Caps and septa: where the real money and the real problems live
I will say it plainly: the septum is the most important component in the vial system, and it is the one buyers cut first to save pennies. That is a false economy. A bad septum contaminates the sample, leaks, and cores. A good one costs a few cents more and saves you a repeat run.
Septum materials and when to use each
- Silicone: excellent reseal and puncture resistance, but it is the source of the silicone oil ghost peaks I mentioned at the top. Use silicone-faced septa only where the method tolerates it, and always run a blank.
- PTFE-faced silicone: the PTFE face protects the sample from the silicone, so this is the default for LC and GC work with reactive or sensitive analytes. The trade-off is that PTFE does not reseal as well after many punctures, so cap the puncture count.
- PTFE/silicone laminated: the workhorse for autosamplers. Good chemical resistance, good reseal, and it tolerates the 1 to 3 punctures a typical single-injection method needs. Do not reuse beyond the manufacturer’s rated count.
- Butyl rubber: for headspace and where you need low gas permeability. Not for solvent contact.
- Natural rubber: cheap, and I would not put it near an analytical method.
Puncture count and reseal
Every septum has a rated puncture count. For a standard PTFE/silicone laminate it is typically 3 punctures before reseal integrity drops and evaporation climbs. If your method injects the same vial three times (common in sequence runs with a standard and two samples), you are at the limit. Plan the tray so each vial is punctured no more than its rating, or move to a septum rated higher. Some pre-slit septa are rated for more punctures and are worth the upgrade for high-throughput queues.
Cap material and the GPI thread standard
Screw caps follow the GPI (Glass Packaging Institute) 9 mm thread finish, which is the dimensional standard that lets caps from different suppliers mate with vials from different suppliers. If a cap feels cross-threaded or backs off, the culprit is usually a cap or vial outside the GPI tolerance, not your technique. Buy both from a supplier that states GPI compliance, and keep a known-good cap on the bench to test a suspect lot.
Caps come in polypropylene (the standard, chemically resistant, autoclavable) and, for high-temperature or aggressive-solvent work, PFA or PTFE-lined versions. Magnetic caps (with a steel insert) are needed on autosamplers that use magnetic grippers. Check that detail before you order, because a non-magnetic cap on a magnetic gripper is a stalled run.
For a full matrix of cap and septum options matched to vial format, the catalog at vialswithcaps.com is a useful reference, and I keep a printed copy of their compatibility chart on the bench.
A decision checklist with real numbers
Here is the checklist I use when qualifying a new vial for a method. Print it, fill it in, and keep it with the method SOP.
- Format: 12 x 32 mm, 9 mm neck (default), or confirm your autosampler’s required diameter/height.
- Glass grade: USP Type I borosilicate for LC-MS, trace metals, ion work; Type III acceptable for high-concentration UV only.
- Color: clear unless the analyte is light-sensitive, then amber.
- Usable volume: fill to no more than 75% of nominal capacity (about 1.5 mL in a 2 mL vial) to leave headspace for the autosampler needle and to avoid overflow on the tray.
- Septum: PTFE/silicone laminate for LC and GC; butyl for headspace; silicone only with a blank check.
- Puncture rating: match to your injection count per vial; do not exceed the rated count.
- Torque: 1.2 to 1.5 N·m for screw caps, verified with a torque wrench.
- Crimp: go/no-go gauge check weekly if using crimp vials.
- Dimensional tolerance: ±0.2 mm on body diameter; reject out-of-band lots.
- Certificates: request the hydrolytic resistance result and a dimensional drawing with the first order.
- Lot traceability: record lot number on the bench sheet so a bad batch can be traced to results.
That last point is not bureaucracy. When a ghost peak appears, the first question is always “which lot of vials and septa were you using?” If you cannot answer it, you are debugging blind.
Operational precautions that prevent most failures
Most vial problems are operator problems, and they are fixable with a short training refresher.
- Do not overfill. A vial filled to the shoulder will overflow when the cap goes on, and the excess runs down the outside into the tray. Fill to the 75% line and no further.
- Cap with a tool, not fingers. Hand torque varies by a factor of three between analysts. A $40 cap tightener removes that variable.
- Handle caps by the edges. Touching the septum face transfers skin oils and lint that show up as peaks.
- Store vials capped and upright. Open vials on the bench collect dust and airborne contaminants within hours.
- Mind the temperature. Standard PP caps are rated to about 120 °C continuous; do not autoclave capped vials unless the cap is rated for it. For high-temperature work, use PTFE-lined or PFA caps.
- Check compatibility with your solvent. DMSO and THF will attack some septa and cap liners. Run a 24 hour soak test with a blank before committing a method.
- Keep a known-good reference vial. When results drift, run the reference alongside to isolate whether the problem is the vial or the instrument.
Troubleshooting checklist: symptom to cause
When a run goes wrong, work this list top to bottom before you touch the instrument.
- Ghost peaks at low mass (LC-MS): suspect silicone oil from silicone-faced septa. Switch to PTFE-faced and re-run a blank.
- Rising baseline or phantom sodium/potassium: suspect soda-lime glass or contaminated caps. Move to Type I and fresh caps.
- Sample loss over a long sequence: suspect under-torqued screw caps or a worn crimper. Check torque and crimp gauge.
- Needle coring (rubber fragments in the vial): suspect a dull needle or a septum past its puncture rating. Replace both.
- Autosampler jams or mis-picks: suspect out-of-tolerance vial diameter or a cap that is too wide for the gripper. Measure a sample of the lot with calipers.
- Cross-threaded caps: suspect a cap outside GPI tolerance or a damaged vial neck. Test with a known-good cap.
- Peak area RSD above 2% (injection-to-injection on the same vial): suspect a leaking septum or a partially seated cap. Re-cap and re-run before blaming the column.
An RSD of 2% is a useful tripwire. If a method that normally holds 0.5% suddenly drifts to 2%, the vial system is a prime suspect, and it is cheap to rule out.
Where to buy and what to ask
You have three sourcing routes, and each has a place.
Instrument-vendor consumables (Agilent, Thermo Fisher, Waters) give you guaranteed compatibility and a part number that matches your autosampler exactly. The price is the highest and the lead time is usually reliable. Their technical resources are also genuinely useful for method development; I keep the Agilent GC accessories pages and the Thermo Fisher sample handling documentation bookmarked, and Restek’s technical library is my first stop for septum and liner compatibility questions. Links to those references are below.
Third-party glass specialists (Aijiren and similar) give you the same formats at lower cost, often with better dimensional documentation if you ask for it. The catch is that you must qualify the lot: request the drawing, the hydrolytic resistance result, and a sample before you commit to a full case. A well-qualified third-party vial is indistinguishable from the OEM vial in performance, and I have the blank chromatograms to prove it.
Distributors and marketplaces are the fastest route for small quantities and odd formats, but quality control is on you. Buy a small quantity first, run a blank, and measure the dimensions before scaling up.
Whichever route you take, the questions are the same: What is the glass grade and the hydrolytic resistance result? What is the dimensional tolerance? What septum material and what puncture rating? Is the cap GPI 9 mm compliant? Can you supply a certificate of analysis with the lot? If a supplier cannot answer those five questions, keep looking.
For a starting point on formats and pricing across the 12 x 32 mm and 11 mm families, the catalog at samplevialprice.com is organized by format and neck size, which saves the back-and-forth. For the wider consumables picture (columns, liners, filters, and the vials that feed them), chromatographyselling.com is a good cross-reference when you are standardizing a whole lab.
Reference standards and further reading
When you need to justify a specification to a procurement manager or an auditor, point to the standard, not to a sales rep.
- USP <660> covers glass containers and their hydrolytic resistance, and it is the reference most QC labs cite for Type I classification.
- ISO 719 and ISO 720 give the hydrolytic resistance test methods and grading for glass, useful when a supplier’s certificate references ISO rather than USP.
- GPI 9 mm is the thread finish standard for screw caps, and it is the reason caps and vials from different makers should mate.
- U.S. EPA SW-846 is the test methods compendium for waste and materials, and it is a good example of why vial cleanliness and blank checks matter in regulated work.
- Agilent chromatography consumables and Thermo Fisher chromatography and sample handling both publish compatibility tables for vials, caps, and septa that are worth reading before you write a spec.
- Restek technical resources has practical guidance on septa selection and injection-port consumables that translates directly to vial-system choices.
I keep those references on the bench because they settle arguments faster than opinion does. When a supplier claims a septum is “inert,” the compatibility table tells you what inert means for your solvent.
Putting it together: a worked recommendation
For a typical LC-MS or HPLC-UV lab running a mixed fleet of Agilent and Shimadzu autosamplers, here is the specification I would write on the requisition, and it is the one I have used for years without a ghost-peak incident:
- Vial: 12 x 32 mm, 9 mm screw neck, clear USP Type I borosilicate, 2 mL nominal, ±0.2 mm diameter tolerance, lot-traceable.
- Cap: polypropylene, GPI 9 mm, magnetic or non-magnetic per autosampler gripper, with a PTFE/silicone laminated septum rated for at least 3 punctures.
- Torque: 1.2 to 1.5 N·m, verified with a torque wrench on a monthly schedule.
- Fill: no more than 1.5 mL (75% of nominal).
- Qualification: run a blank on the first lot of every new supplier, and measure 10 vials with calipers against the drawing.
For GC headspace or long volatile sequences, swap the septum to butyl and move to crimp vials with a weekly crimp-gauge check. For light-sensitive analytes, use amber glass and accept that you lose visual inspection. For trace metals or ion work, keep soda-lime glass off the bench entirely.
The takeaway is simple. The vial is not a commodity, it is a component of the analytical system, and the specification that matters is the one written down before the order goes out. Get the format, the glass grade, the septum, the torque, and the lot traceability right, and the vial stops being a variable in your results. Get them wrong, and you will spend three weeks chasing a ghost peak that was never the instrument’s fault.
References & further reading
Related resources from our lab consumables network:
- Sample Vial at samplevialprice.com
- Chromatography Products at chromatographyselling.com
- Aijiren at aijirentech.com
- Vials With Caps at vialswithcaps.com
External references and standards: